Light Effect Priming
I use this method to give me referance points of shading and highlights to take out the guess work while painting. It also brings out the detail in a more dynamic view then just inking or drybrushing white over black. I use an air brush to do the work, it offers more control and I can also focus on certain areas I want to have extra highlights. Using spray paints will probaby work just fine but you have to be carefull not to get too thick with the paint. After I finish I take a few pictures of the model to use as referance while painting incase I lose some of the initail shading.
Step 1
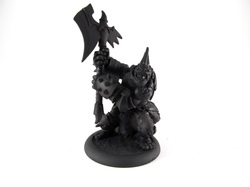
Here is the figure painted black. I use the dollar spraypaint sold by Wal-Mart. It gives a nice thin coat, I've found that brands like Krylon and Rustolium are too thick and take away too much detail. When spraying I always have the figure laying on its side so the undercut parts get coated. When everything is dry I use a brush and touch up any thin or missed parts.
Step 2
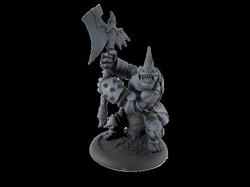
I stand the figure up and spray a light coat horizontaly all around the body. This is a very light coat, I'm not looking to turn everything gray just dust it. I then hold the aribrush at a 45 degree angle and spray down the body. This is a slightly heavier coat and takes away most of the black but not all. I use Reaper MSP Rainy Grey (a medium grey). If your using a spray can I sugest skipping the first part of step 2.
Step 3
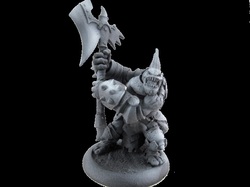
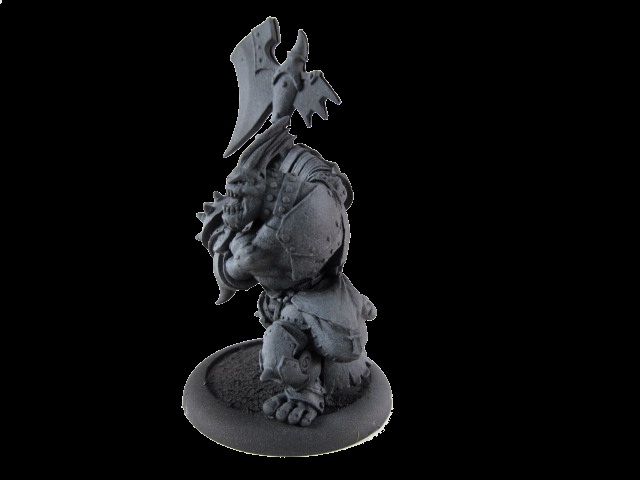
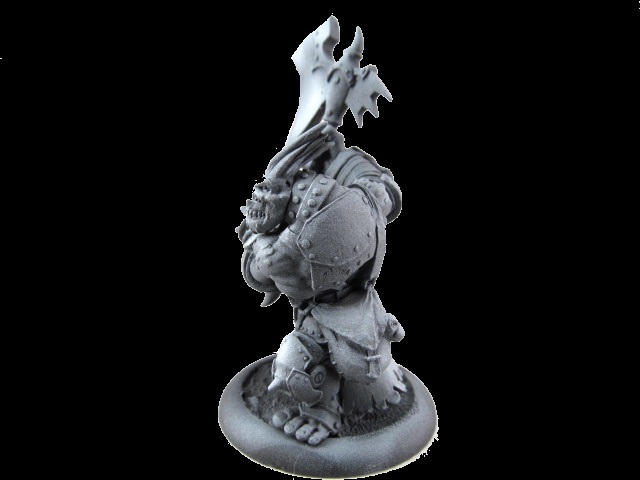
This step will bring everything together and really make things pop. I hold the figure so I can spray directly down from its top. If I want to have the light source hitting the figure in a certain direction I'll spray from that angle as well. In this picture I put the light source infro and to the upper left. I then picked out some high spots on the axe, armor, and face. Use Vallejo Airbrush White.

