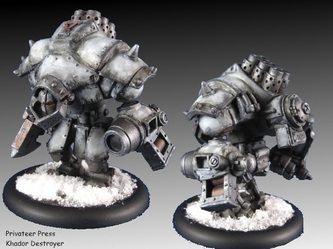
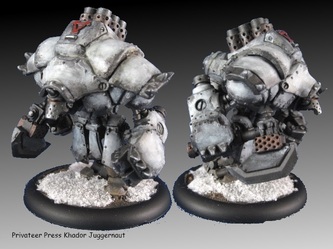
Winter Whitewash Camo
Intro
A friend of mine wanted a Khador army painted up differently
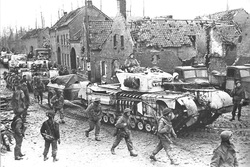
than the bright red in the Warmachine pictures, he wanted a cooler look to the army a winter theme. My inspiration for this project stemmed from an article I read in a modeling magazine a few years ago describing how tanks were whitewashed in WWII for winter
camo.
The tanks were given a wash with water soluble paint and in some
cases lime. This was mostly done out in the field so crews used mops, rags, and whatever else they could find to apply it with. Needless to say this method did not create a pretty look or uniform color. The wash would also wear off easily in the high use area in and around the vehicle, rain or snow would also make the wash run off when it got wet. To sum it up, the look I’m after is a messy white covering that has hints of the original color showing through.
Step 1
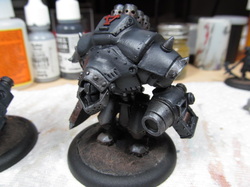
I painted the base colors with some highlights then gave the entire model a dirty wash (a mix of brown and black inks with thinner). Its important that the paint dries completely between coats. Since I'm going to be using very thinned down paints for the following steps, I sealed the model with clear coat
Step 2
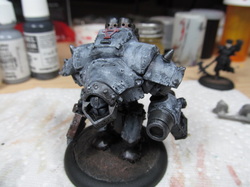
Now for the whitewash. I thinned white paint down to near transparent consistancy . To test the mixture I used a old Magic the Gathering card, if I could see the picture though smeared paint it is thinned enough. No need to be pretty about it just dab and smear the paint on. I avoided the metalic areas but letting some white get on adds to the running white look. I repeated this step a few times to build up the white in certain areas, each time letting everything dry completely before adding more.
Step 3
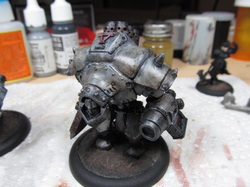
When I was happy with the whitewash, I then gave it a dirty wash like i did eralier. This brought out some of the base coat color and gave the white a nice grimmy look. When this dried I gave the model clear coat to protect it.
Step 4
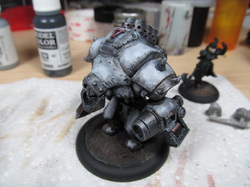
Using the thinned down white, I started building up the whitewash once more but, this time being more picky about where it went. I concentrated on the areas that would not get much wear and tear. This took a few layers to do.
Step 5
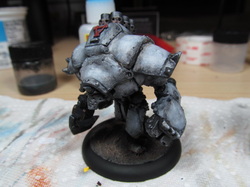
Now it was time to add more abuse to the look of whitewash. Edges and other places that get worn down need to be brought back to the original base color. To do this I used a very stiff brush and dry brushed the base coat on high traffic areas and edges of armor. Then I followed up with some mud color and put that heavily around the feet and lower parts of the model to make it look like its been in some muddy snow.

